Improve Indoor Air Quality: How to Clean Your AC Unit During Summer

Bad air quality can drive you insane during the summer. As if the heat beating down and you’re sweating bullets all-day isn’t enough; now you have to breathe dusty air that makes you wheeze? No thanks.
What makes dirty air even more inexcusable is that you can avoid it.
Air conditioning units are like employees; you have to pay attention to their wants and needs if you want them to produce high-quality work for you. AC units don’t last forever, and you need to understand when they need their parts changed.
Over time these systems experience wear and tear like any other equipment, but the more on top of their maintenance you are, the more relaxed you’ll feel.
No more hopping out of the shower and feeling the sweat start to ooze down your forehead the second your foot touches the bathroom floor. Read on and discover the ultimate, “how to clean AC unit,” guide.
Air Conditioner Cleaning Tips
Before delving into a thorough discussion on how to clean your AC unit, there are a few tips to keep in mind. For starters, cleaning your AC takes time and practice. The first time you wash it, it might be frustrating.
But the process becomes more natural, and the easier it becomes, the less you resist it. Aspects of the cleaning process are technical and require precision movements. These functional parts are the ones that might frustrate you at first.
On top of learning the cleaning processes, a lot of AC units require special tools for cleaning. Because some maintenance needs professional help, if you notice a severely damaged component, don’t try to fix it yourself.
Condenser Coils and Evaporator Coils
Understanding the difference between condenser coils and evaporator coils is essential to clean your air conditioner. There are outdoor and indoor components to the air conditioning system, and each has different types of coils you need to learn how to spot.
Elevator coils are in the interior part of the unit and are made of copper. The reason they are made of copper is that they conduct heat efficiently and contain coolant. As warm air passes over the top of the coils, the refrigerant evaporates into a gaseous state.
After the coolant turns to gas, the air transfers to the outside unit, where it passes through the compressor and condenser coil. Finally, the condenser coil releases heat into the surrounding air by running through the exhaust fan.
Cleaning your AC unit requires both indoor and outdoor care.
Cleaning Your AC Unit Inside
It’s not imperative to start cleaning from the inside, but since you’re already there, it’s as good a place as any to begin. Here are the steps to take.
1. Cut the Power to the Air Conditioner
No one wants to be electrocuted in the name of clean air, so first, turn your air conditioner off. Because turning off the power at the breaker box means you will have no lights, your air conditioning duties are always daytime.
2. Open the AC Unit
Blower units have doors to the evaporator coil. Depending on your unit, you might have to remove the duct tape covering the coil. There might also be a few bolts or screws holding the door in place.
3. Clean the Evaporator Coils
The main build-up you try to remove from the evaporator coils is dust. Because dust is fine, try using a more delicate material, such as a soft brush. Because dust often covers the coils, it might be wise to wear a mask.
Use a no-rinse cleaning solution from your local DIY store. Spray the foam evenly on the coils and make sure it reaches every spot, even those inaccessible by hand.
4. Clean the Drain Pan
After the cleaner settles, and finishes its task, move on to the drain pan. A simple combination of soap and hot water will do the trick. Pour a bleach solution down the drain to prevent algae build-up.
6. Close the AC Access Panel
After cleaning the drain pan and making sure it’s not clogged, reattach the access panel with the screws you used. Do not cover the manufacture label; technicians need to be able to see it to perform maintenance.
If there is anything out of the ordinary while you complete this process, you may want to speak to a technician to see what needs fixing. A-frame evaporator coils, for example, have tight access components closed on both ends.
If you haven’t cleaned A-frame evaporator coils in a while, chances are, you’ll need professional help.
Cleaning Your AC Unit Outside
Cleaning the outside unit is more of a challenge. It’s more challenging because the outdoor condenser coils require more labor than the inside coils. Outdoor coils are more challenging to clean because of their exposure to the elements.
Because of the higher exposure to elements, outside coils require special cleaning tools.
1. Disconnect and Remove AC Grille
First, turn the power off before starting. Unscrew the unit at the top. Once you remove the screws, remove the fan unit and grille. Most grille units don’t require disconnecting any wires.
2. Remove Debris From Air Conditioner
Most air conditioning units contain debris that accumulates at the bottom of the air conditioner. Lower-cost units don’t have guards that protect the AC from debris.
If you have a lower level air conditioner, you may have leaves and twigs at the bottom. Remove all debris.
3. Clean the AC Coils and Fins
Cleaning the AC coils and fins requires a coil cleaning solution. Coil cleaning solutions can be caustic, and you should handle them with care to avoid chemical burns and poisonous fumes.
Add the solution as directed to the pump sprayer. Then, spray it onto the coils. After it settles, wash the solution off with your hose. Avoid high-pressure water, so you don’t damage the fins.
4. Re-Adjust the Fins
When your fins bend, they reduce airflow, which is why straightening them is vital. Fin tools are easy to use, affordable, and straighten your fins perfect.
Fixing your fins is a simple process that only requires you to comb fins back into place.
5. Clean the Perimeter of the AC Unit
After you replace the fan cage, make sure no debris is near the unit. Debris can inhibit airflow and cause increased costs.
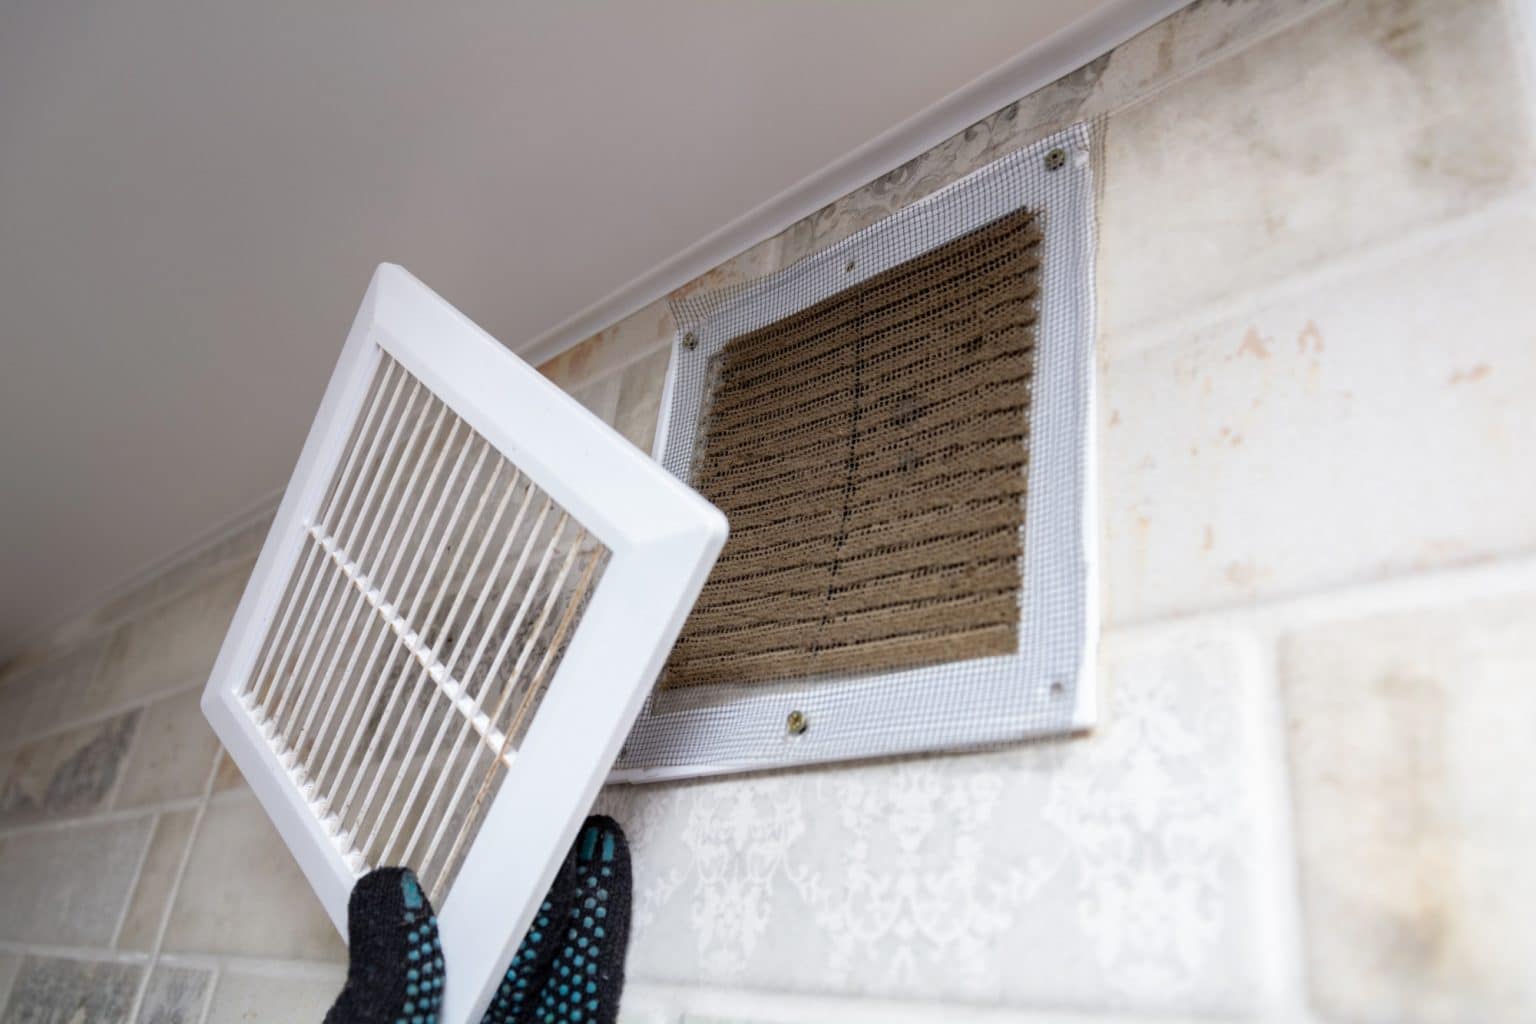
Cleaning the AC Filter
Cleaning the AC filter is the most crucial part of cleaning your air conditioning system. It requires you to follow four simple steps:
- Vacuum the filter
- Soak the filter
- Spray the filter
- Dry the filter
If your filter is severely damaged, don’t hesitate to contact professional help.
How to Clean AC Unit 101
Next time you type, “how to clean AC unit,” remember, it’s all about cleaning the coils and the filter. As long as you keep those clean and classy, you’ll be basking in the sweet relaxation of cold refrigerated air.
Check out our fantastic services and never spend a moment dripping in sweat again!


